Developing My First Roll of Film
This past winter, I had enrolled in a film photography course at the college where I work and learned how to develop, enlarge, and print my images for the very first time. The process challenged me, and while I came to love the developing state, the enlargement/printing processes were more than my brain, life, and time could accommodate at that point (for more on the experience and what I learned, you can read this post).
Our first week, our first assignment was to shoot a roll of film (36 exposures). Our subject matter could be anything, as long as we adhered to the constraints: shoot in daylight only and outdoors (brrr!), use a shutter speed of at least 1/60, use Ilford HP5 400 film (and set our ASA/ISO to 320, per our instructor’s direction), and use only our 50mm lens. I was one of the few students in the course with my own film camera, so I was using my Olympus OM-2n and my 50mm 1.8 lens. For my subject matter, I decided to drive about 45 mins toward to the coast, to wander around the University of New Hampshire. Back in 1993, I stepped onto the campus thinking I’d earn my degrees and head back home to Connecticut; nearly 32 years later, I’m still in the Granite State, and I owe so much to those days I spent as a Wildcat.
I packed a hat, gloves, and handwarmers, as it was a cold January Saturday. I drove and parked, drove and parked, walked and walked more, composed and captured images, and dutifully logged each photo and its settings. By the time I went to into work the next day to develop the negatives, I was feeling more than a little anxious. My typical workflow included a drive to the local photo lab, dropping off my film rolls, and waiting a few days for the scans to arrive in my inbox. Now, it was up to me.
Needless to say, when I saw that images were indeed on my film and—even more incredibly—ones I actually liked, I was smitten. The true test, however, would come when I sleeved the negatives and, later, made a contact sheet. Again, a thrill!


Before I get to sharing the images, a word about the process getting them from my negative to a digital file…or, just skip to the photos!
Since I couldn’t possibly enlarge and print all of my images—I’m slow enough doing just one!—I wanted to find a way to create digital images of my photos. I didn’t necessarily want to go the scanner route, and since I already owned a mirrorless camera and a macro lens, so I invested in two setups made by the Finnish company Valoi. Why two? Because I couldn’t make up my mind, and I wanted the flexibility of being able to do both 120 and 35mm; owning both is probably most likely overkill, but welcome to my world. First, I purchased a copy stand and setup that would allow me to use my Fuji camera (an X-T3 with a macro lens) to take photographs of my negatives, both 35mm and 120. Then, wondering if this compact solution might streamline the 35mm process even further, I made the leap and ordered this option. Again, while I don’t need both options, I like having them, and the copy stand and small lighting option can certainly be used with/for other purposes. Using Negative Lab Pro software to convert the negatives to positives, I imported the images to Lightroom Classic, and voila! Digital images!


Following my jaunt through the campus proper, I wandered just a few minutes away, to a residential area in Durham that I had never before visited: the Hamilton Smith Memorial Chapel, which was built for and named after Hamilton Smith by his wife, Alice Congreve Smith (fun fact: Congreve Hall, where I was an RA for two years, is named after her!). Hamilton Smith Hall, where I spent so much of my time in English classes and at work at the writing center, was named after the man, who died in boating accident.
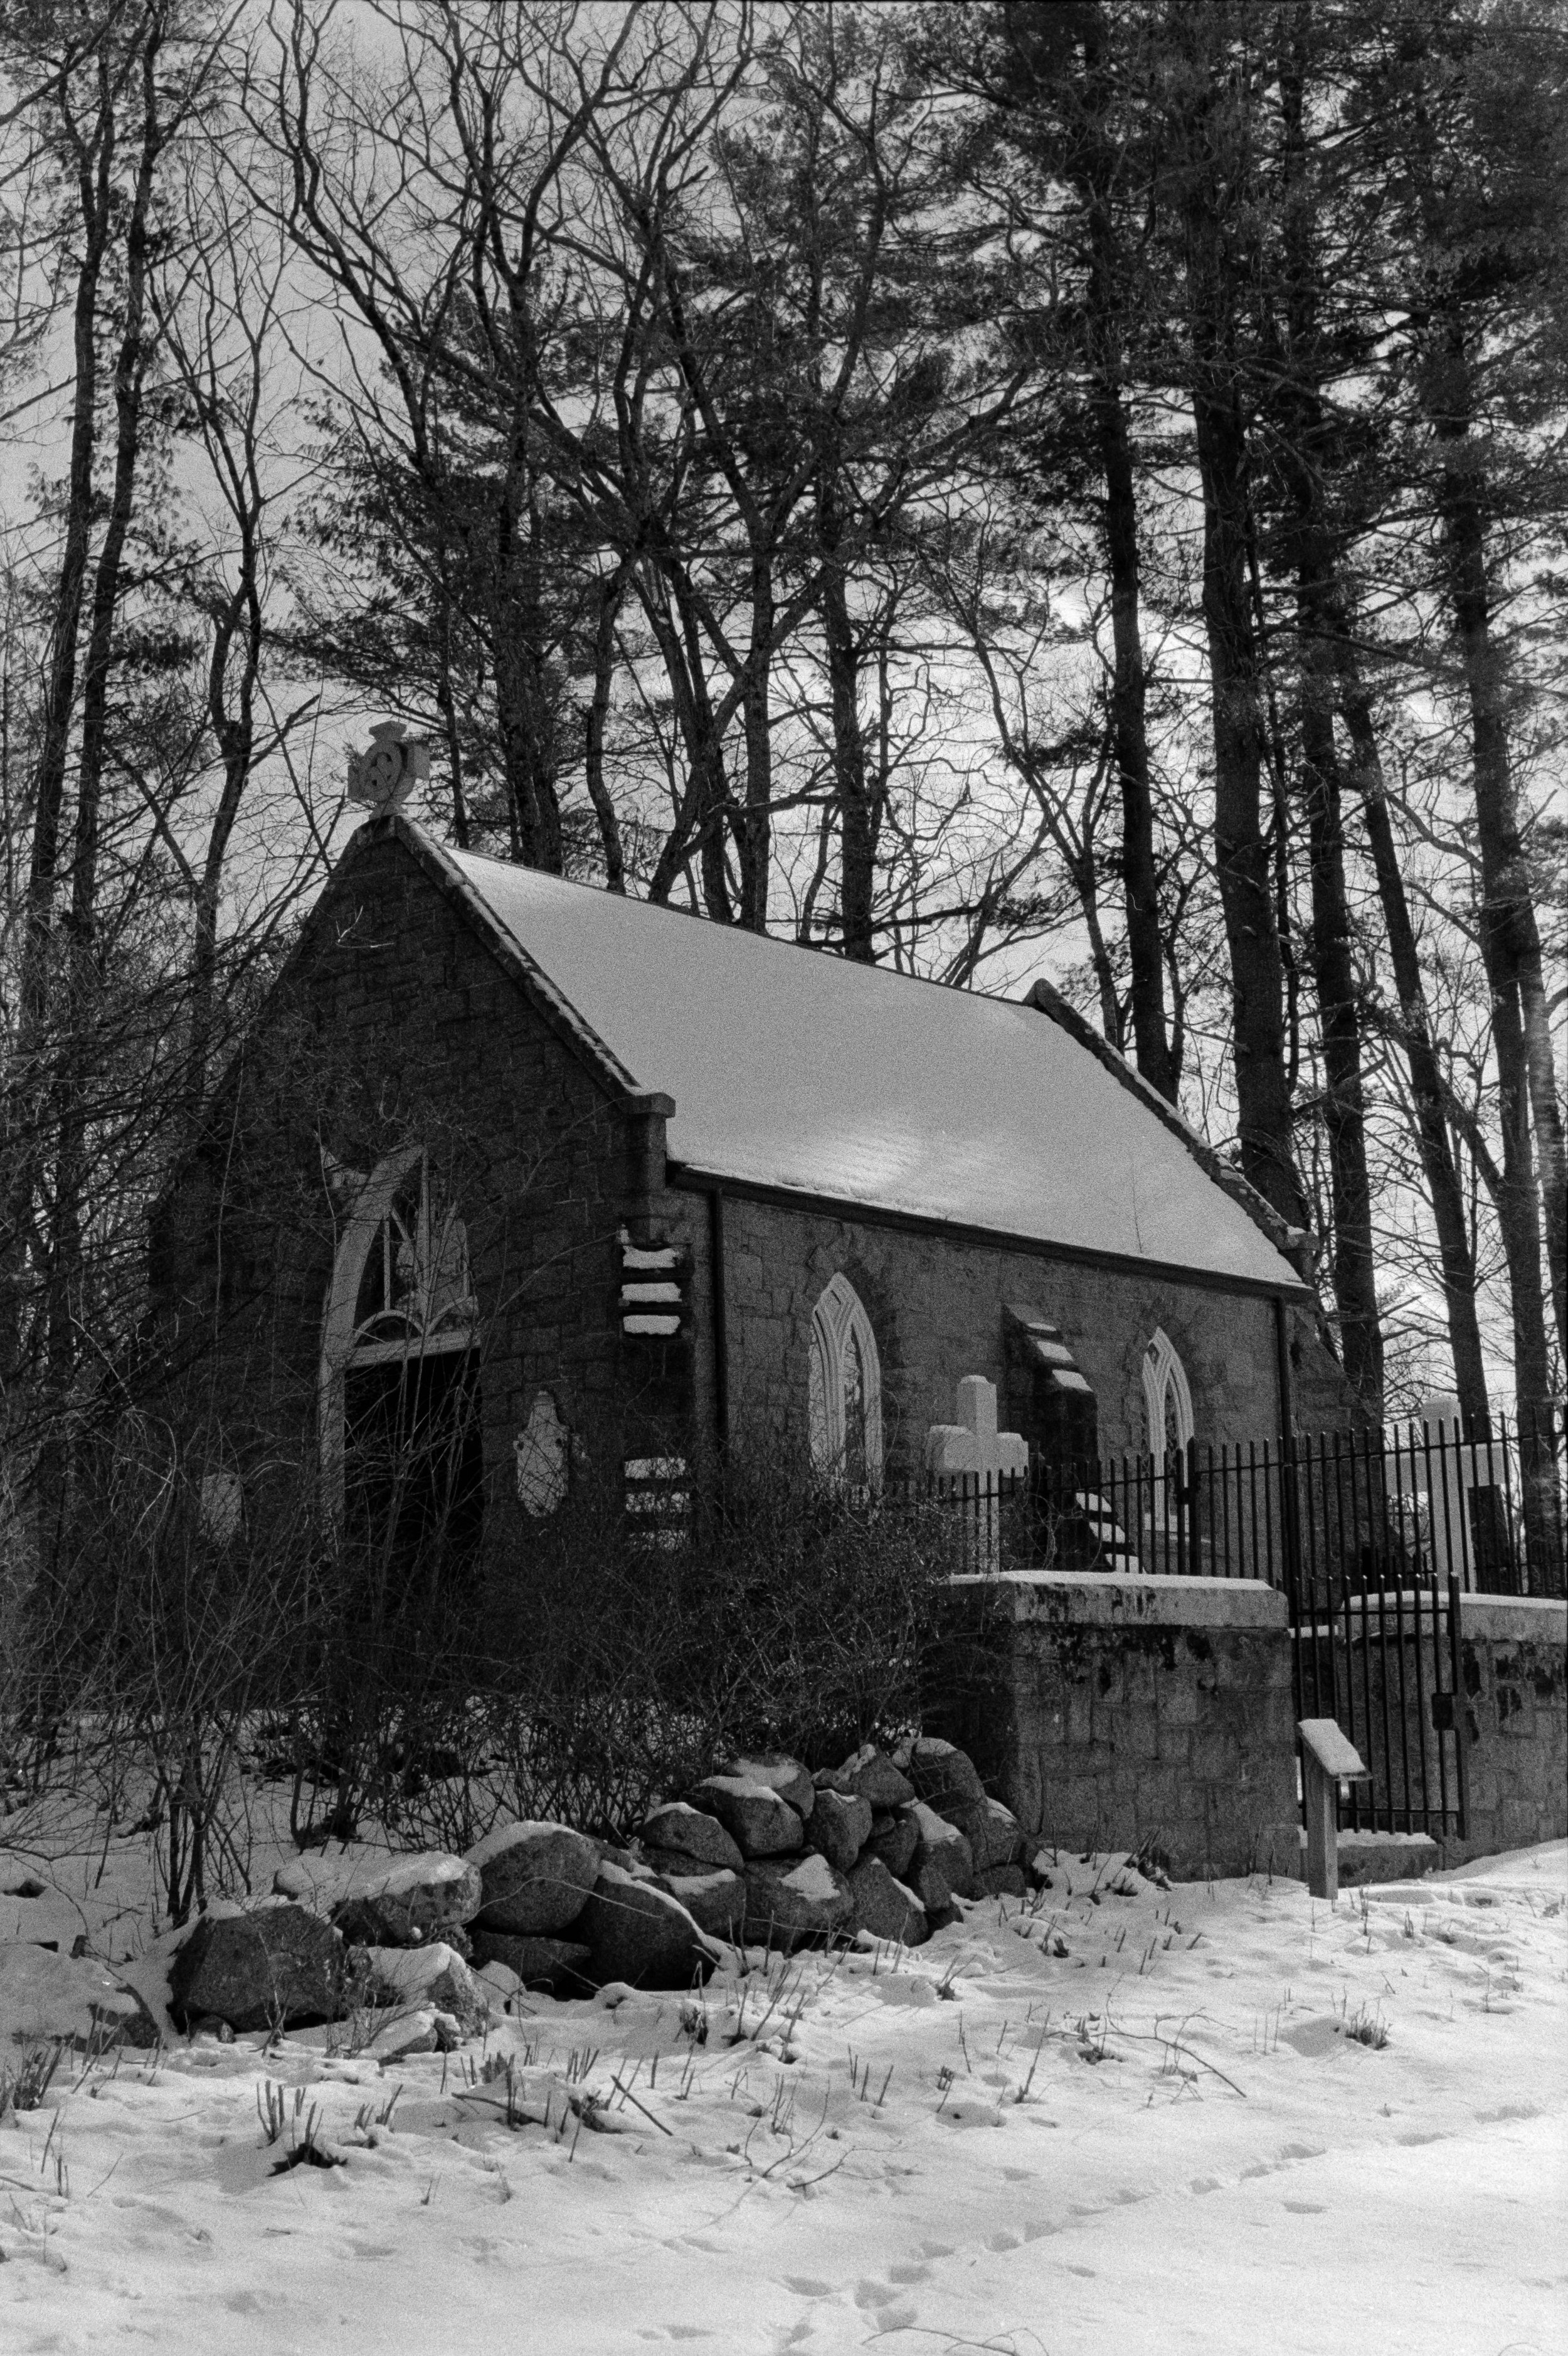
Hamilton Smith Memorial Chapel, Durham, NH
My last stop was a few minutes away, a familiar spot to anyone familiar with Route 4 as it heads toward the coast: Wagon Hill Farm. I hadn’t been to Wagon Hill in years (decades??), and other than a few folks trying to salvage the thin layer of snow for sledding, the grounds were quiet and peaceful that blustery afternoon.


I am an absolute beginner with the digital camera scanning process, but so far, I’m loving the options for blending my love of film photography with a digital workflow for purposes such as this website. I’m not really interested in editing my images much—I might need to clean up my scanning/camera borders, but so far, I really haven’t post-processed any of the film images—sure, they might become technically “better” if I were to do so, but that’s not the point, at least for me anyway.